The concept of SNS nails, or essentially dip powder nails, is not a new one. As children, crafts very much consisted of creating a base of glue and sprinkling glitter on top. This was used on just about any surface, and few ladies would admit to having never taken part in the glue with glitter manicure sessions. Who would have thought decades down the road, this childhood bit of creative fun would become one of the hottest beauty trends? Thirteen going on thirty has been given a whole new meaning!
Ahead, learn everything about dip powder SNS nails, their pros and cons, differences with other nail extension techniques, and more!
SNS Manicure Guide: Contents
You’re confused, we’re sure, and rightfully so. Plus, what is the abbreviation for? Well, just like there is OPI, Sally Hansen, and other popular brands, you’re looking at an invention by SNS, or Signature Nail System, here.
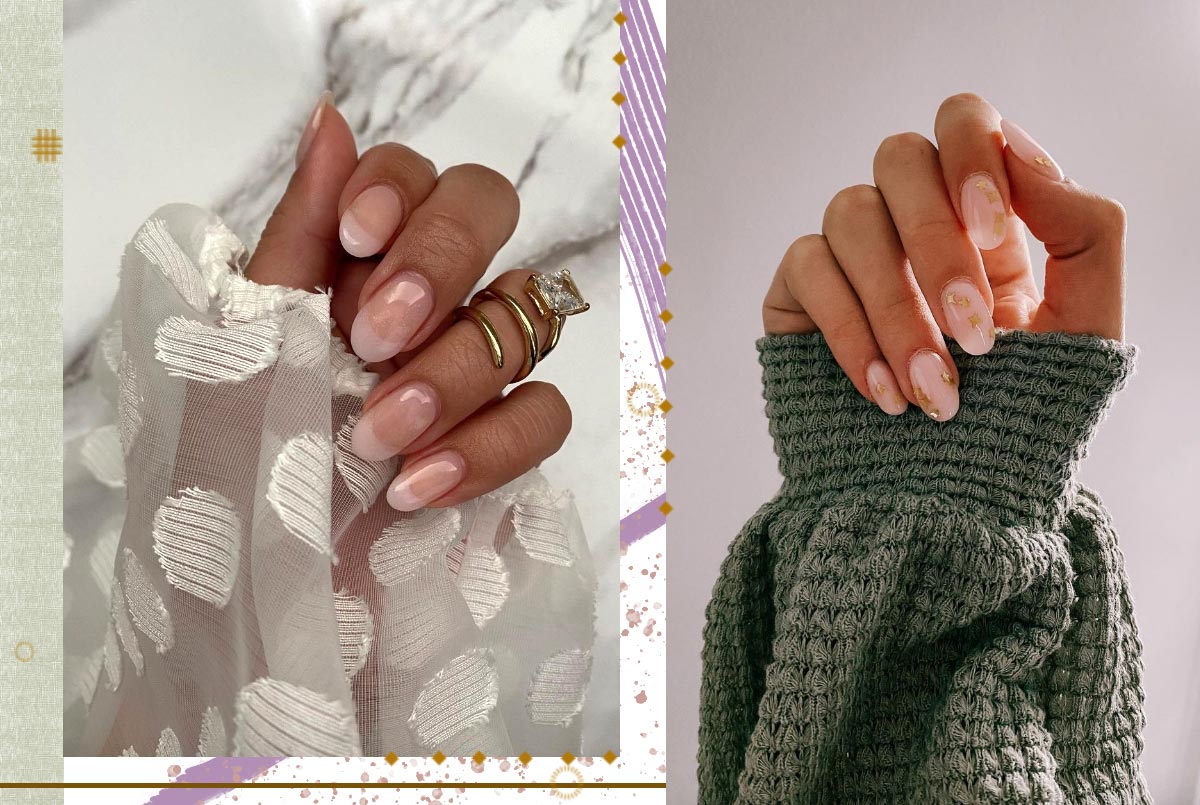
Technically a nail dipping system where a gel base is applied to your digits before dipping it in a special powder, dip powder manicure is an interesting new way to show off your well-manicured and cared-for hands. The powder is available in a range of colors, including a natural pink and white for the perfect French manicure look. The results are beautiful and oh-so-natural in their finish.
Created by a salon owner with over three decades of experience in making women beautiful, SNS nails are all the rage and deserve the attention of every female with a love of color on her hands. It is not new, as already mentioned, with traces of it appearing as far back as the 1980s, but the past year has given it new life and is all influencers can rage about these days.
SNS nails are pretty similar to standard nail lacquers or gel polishes, with the difference being that it doesn’t have the same strong smell of a regular polish and doesn’t require UV lights for curing.
To use the SNS dip powder, you don’t need any additional skills to create that “fake nail” look. It’s why we’ll get to a section about the DIY version later on in this guide. After all, not everyone likes to self-pamper. Here is what you should know about how it all works in the first place.
Read Next: 15 Best Dip Powder Nail Kits to Use at Home
In the end, don’t forget to snap a photo and show off those Insta-worthy hands of yours!
There are many reasons to consider using the dip powder SNS nails instead of your typical shellac or other forms of artificial nails. Which convinces you best?
Of course, with all the pros pointing you toward this latest trend, there are also a few cons to consider, and not all of them are easily dismissed.
Each product you use on your nails differs slightly from the other. Whether you’re picking a shellac, acrylic, gel, or powder nail session, there are a few things to consider before making your decision.
To understand which your preference is, here is a small guide on what to expect with each type of nail:
You will need three steps for the application of a gel manicure – a base coat, polish color, and top coat. The gel is hardened under a UV light, as previously mentioned, for a few minutes. The overall concept is to add a layer to your natural nails that can be in the form of a nail tip for long nails or simply at your normal height.
Compared with acrylic nails, gels are easier and quicker to achieve and last a good while, up to a month. They are considered non-toxic and even safe for pregnant women. These are the perfect option if you’re going for a longer, stronger nail look. The cost for a set is anywhere from $60 to $80.
Shellac manicure is a mixture of regular polish and gel, available in different colors, and is not as rough on you as fake nails. With around 100 colors to choose from, this is a top choice if you’d rather not get a nail tip and keep to your regular shape.
Shellac is a step up from simple nail lacquer and lasts a great deal longer at just under a month. However, you should consider that it would be hard to shape and get refills done without cracking the original. It is applied as you would apply a regular polish, and it is quite beautiful, however.
The cost for a shellac manicure is somewhere between $40 and $60.
Containing liquid monomer and powdered polymer, the application of acrylics is a touch more complicated. An artificial nail is attached to your natural nails using liquid acrylic and powder. It can be shaped and reshaped to your heart’s content and hardens by simply exposing it to air.
It does offer a layer of protection, but the application may also damage your nail bed. It is best for creating your desired shape, however, and doesn’t require UV lighting.
Getting acrylic nails can cost somewhere between $35 and $40, with each refill costing another $20. Expect to do refills every two weeks to maintain the fresh look of your nails.
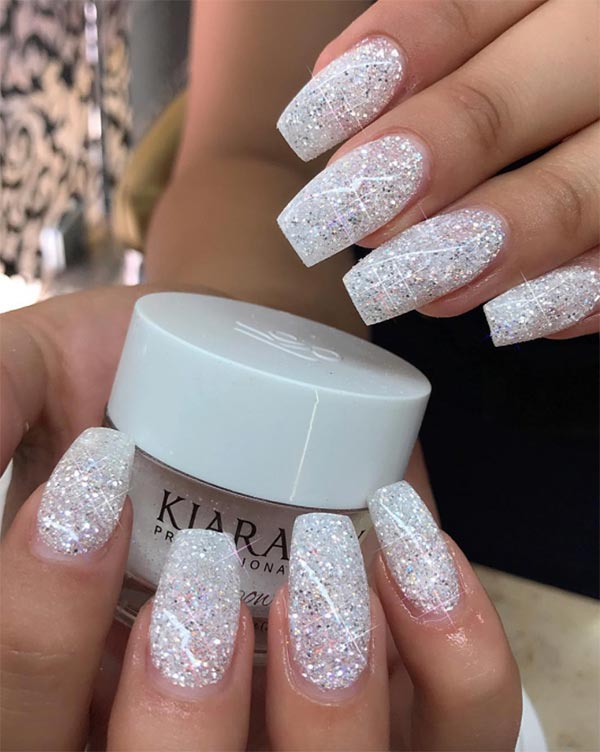
The trendiest one on the list this year, SNS is odor-free, UV-free, and nothing is glued to the nails. It lasts around two to three weeks, and the whole application process is quite easy and fun. It is best for those with sensitivity to chemicals or who have skin allergies.
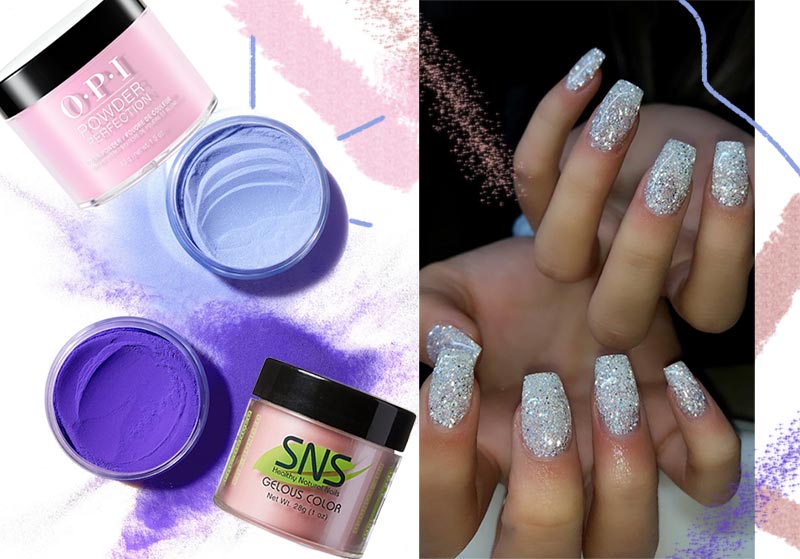
To get SNS nails, you dip your nails in the powder and gradually add layers of resin that is a material made of acrylic. You first apply a reactant liquid to the natural nail that causes the powder resin to harden upon the dipping procedure. After each dip, you need to apply the reactant liquid, and you can go as many layers as you like, depending on the level of color opacity you are looking for.
The cost for an SNS manicure is anywhere between $30 and $50, with more complicated designs costing more.
No, you do not need to harm yourself in the pursuit of beauty! Considered perfectly safe, the SNS dip powder nails also lend strength to the nails with the organically processed chemicals of benzyl peroxide, titanium dioxide, and acrylic ester polymer.
Furthermore, the lack of UV light use to bond the addition to your nails is a blessing. Studies have shown that as little as eight trips to the salon for a shellac manicure can expose one to enough UV rays to cause skin damage.
At the end of the day, though, always ensure you read the ingredients of every product you pick up. While SNS nails are certainly better for you, they do include polymer, which is still something to be wary about and must be removed safely.
The only warning we’d like to issue is that if one has any form of contact dermatitis, it might be best to consult with a dermatologist before trying this new fad out.
While it is recommended to get your SNS nails done at a salon, there is no reason you shouldn’t also try to create the beautiful look at home. After all, the artistry of it and managing it just right will only add to your list of skills to boast about to your friends.
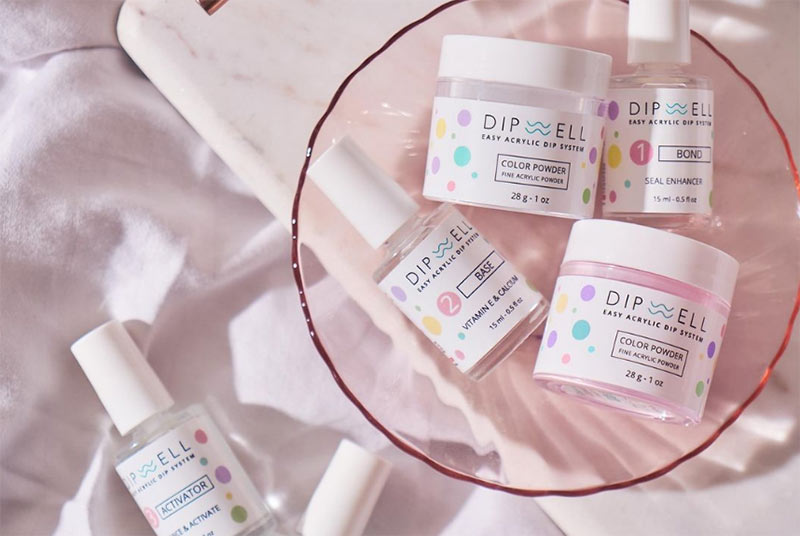
There are three steps to this. But first, ensure that you have your nail polish remover, paper towel, nail file, antiseptic spray (or alcohol), dip nail powder, and water on hand.
It is recommended to get a reapplication of dip powder nails done every three weeks or so. However, if you prefer a refill, we must say that it isn’t a preferred option. It would be best to completely remove the old color before reapplying it.
The old dip powder might mess up the look with the new one if you aren’t very careful. Some professionals are able to do it well, but it still won’t look as amazing as it should. How should it be done for minimal show?
SNS nails actually last up to two to three weeks and will probably need you to change it as your nails grow. While you can have your nail powder refilled, some prefer to completely remove them and start from scratch. This might not seem like a major difference for some, but it truly comes in handy. After all, it greatly reduces those trips to the salon throughout the year.
Consider your fake nails similar to eyelash extensions. Putting them on isn’t the problem. There is no damage done at this point. But taking them off could potentially cause harm to your natural nails. You should avoid peeling the product off, as that will also remove layers of your own nail with it, weakening it and causing peels or breaks.
One of the safest ways to remove your SNS dip powder nails is to go to a salon and have a professional take care of it. She will most probably file it down with an electric filing tool, preventing damage. Once removed, you can opt for a new set of nails or just to have your natural look tidied up.
There are other options for the removal of the SNS nails, of course, and not all are completely orthodox. One fun way we discovered, though it might require a great deal of patience in the process, is the use of a toothpaste and baking soda mix.
Otherwise, it is recommended to grab a few tools to get started:
Once you have successfully removed the SNS nails, you will need to show your nails some total love and care to help them recover. It is recommended to first wash up with soap and water before treating yourself to some essential oils, such as tea tree oil.
Sometimes it’s best to allow your nails to breathe for a few days before heading in for a manicure or pedicure.
Maintenance is as much a part of your nails’ beauty as getting it done in the first place. This is the case for regular lacquer, for acrylics, and even for your dipped-in-powder nails. The colors are so very beautiful upon application, so you do not wish to lose that vibrancy.
Getting your perfect SNS nails isn’t cheap. On the contrary, depending on where you live and what products are being used, you can expect to pay anywhere between $10 and $80 for a full manicure, with it averaging around 25$ for the set.
Depending on the country or even the city, the price could differ greatly. Of course, that might be worth the investment at the end, particularly since it lasts so long, but it is certainly something to budget for.
As for the removal of the SNS nails, while some salons may do it for free if you had them done in the same place, you might also be charged around $5 for their removal.
The cost of beauty is almost always high.
Photos via Instagram