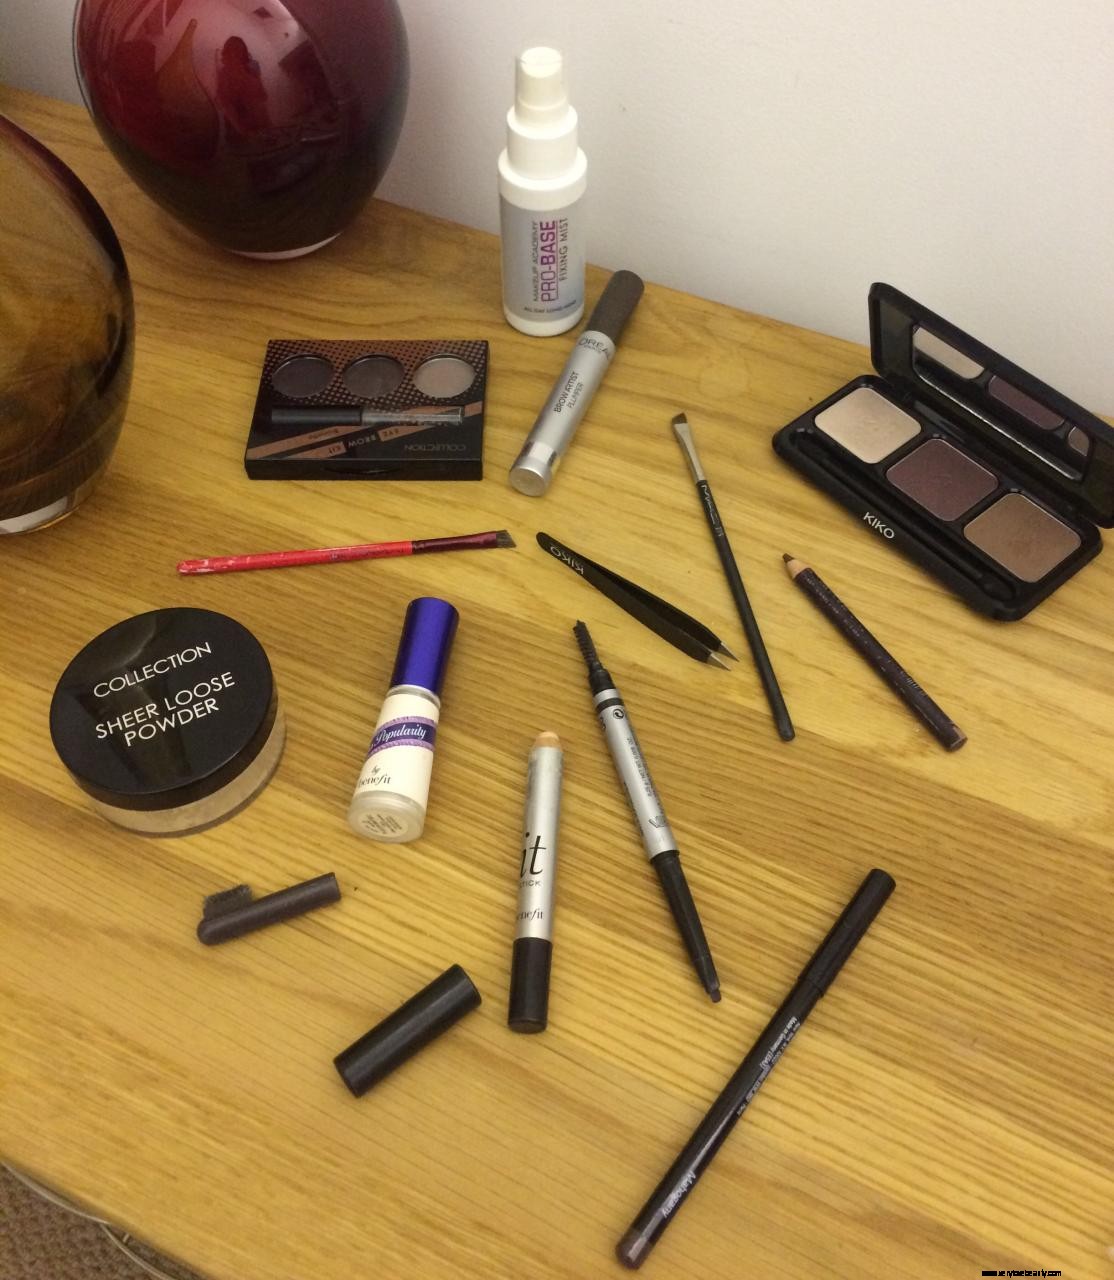
This is the collection of products I’ve used to do my brows. A bit much eh? Just goes to show that I don’t really know what I’m doing. Or at least I didn’t. Initially whenever I tried to improve the appearance of my eyebrows they ended up looking too dark or solid and weird. But after much experimentation, and a bit of help from the experts, I think I’ve got the gist of it.
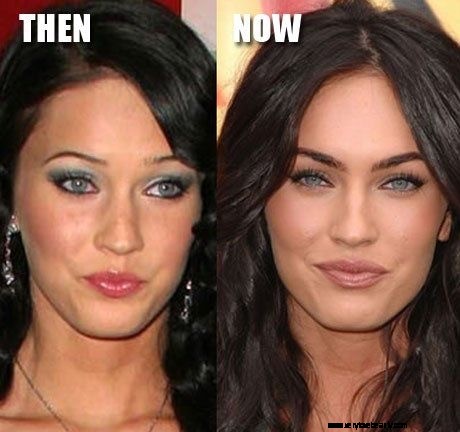
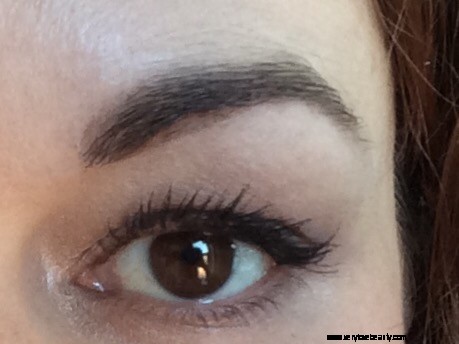
Good brows can completely change a persons appearance. As you age, your brows become sparse, so filling them in gives a more youthful appearance. The right shape helps frame the eyes. Get a load of this before and after of Megan Fox-
Here’s my guide on how to do brows, if you’re a bit inept, timestrapped and don’t want to look like a crazy.
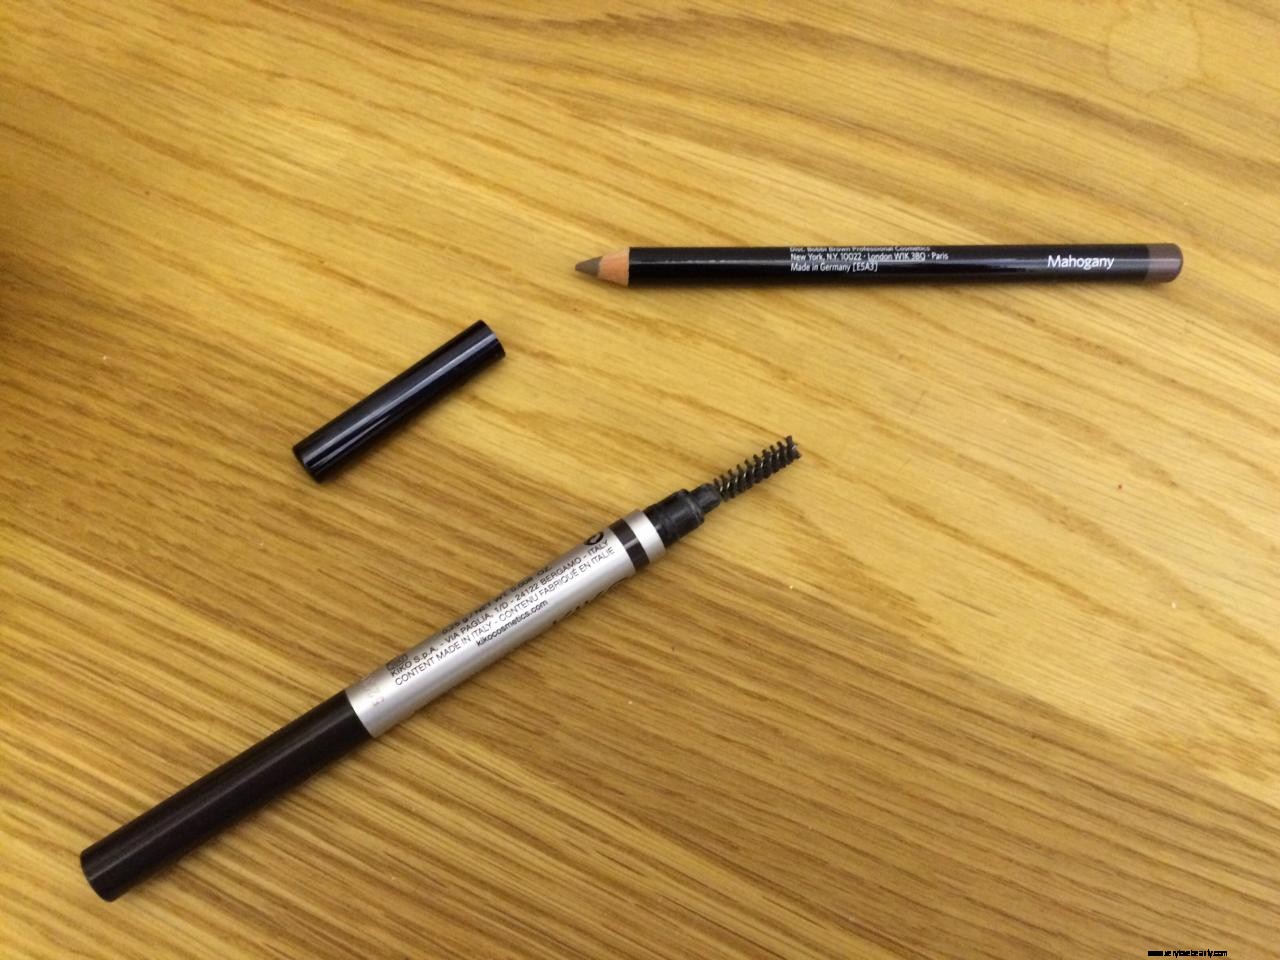
What you need
Where to put it
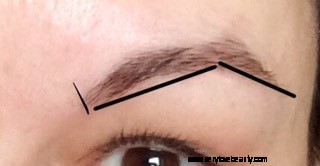
This is the only tricky part. You want to draw a line with your pencil at the bottom margin of the brow. It looks most natural if the bottom of the brow is the most densely coloured. This diagram shows how to place the innermost point, the arch and the outer point-
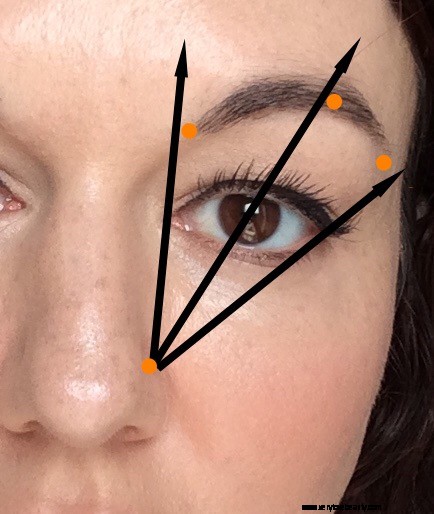 This gives an idea of where your natural arch should be.
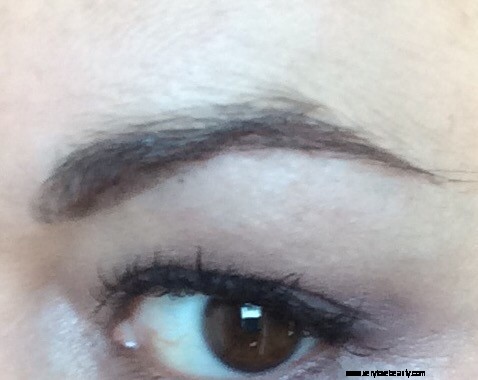
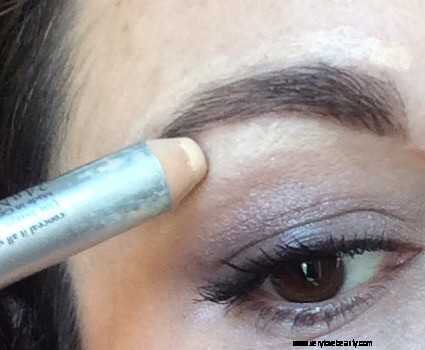
Start drawing! Draw a line starting from the inner point, just above the corner of the eye to the arch- this will be about 2/3rds along. Use light feathery strokes. Then another line down from the arch to the furthest point. Fill in any spaces.
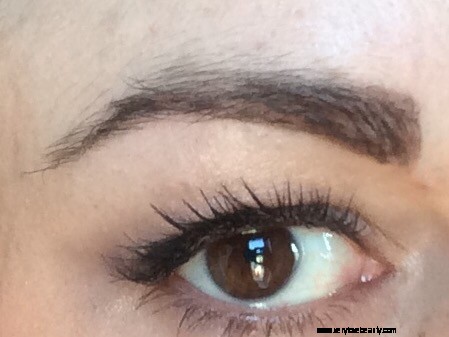
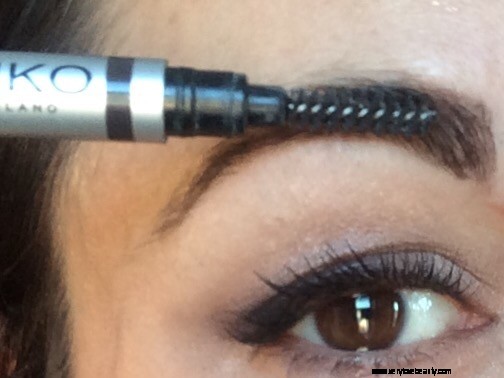
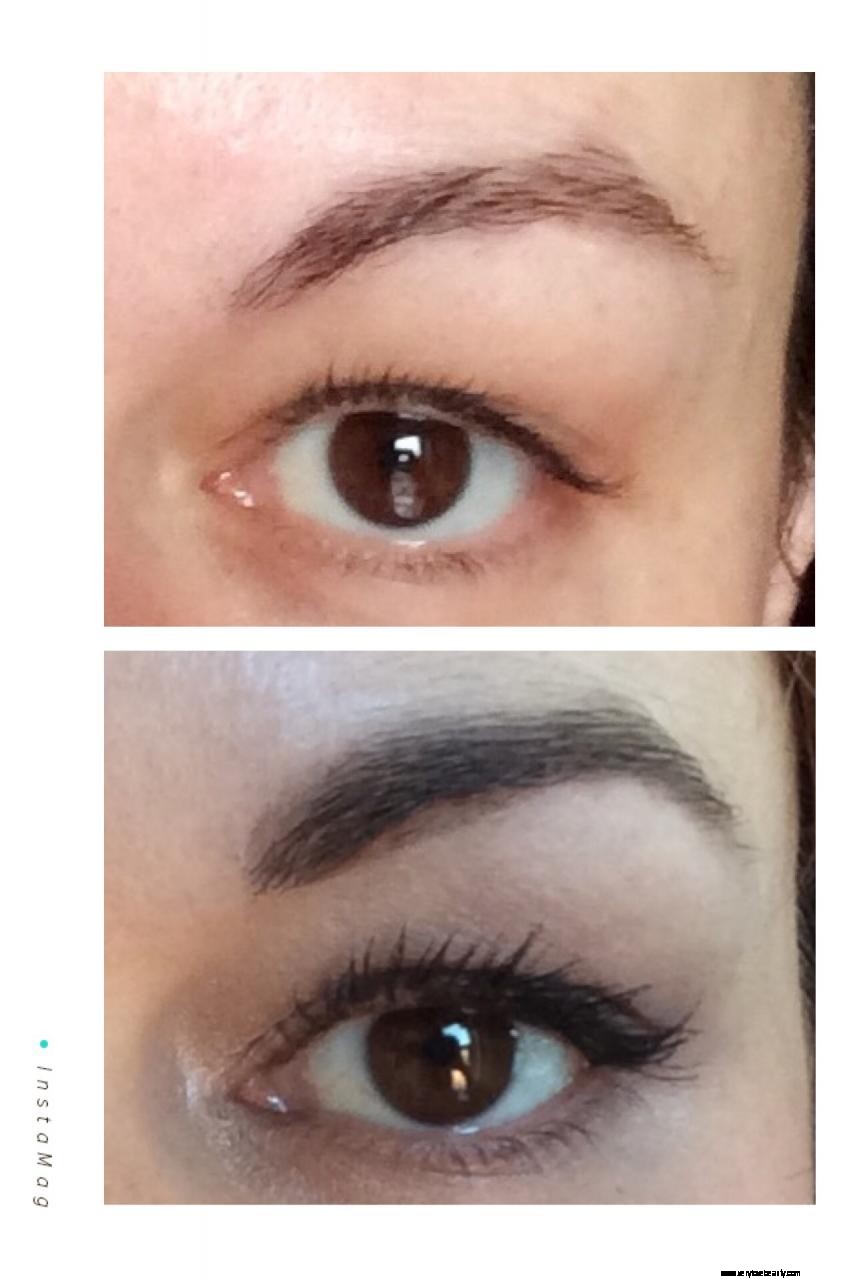
Square up the inner margin, again with light strokes. Fill in any blank space, then blend by brushing the spoolie up through the brow hairs. Simple! Here’s my attempt-
If you want to be fancy, you can go the extra mile with these steps-
Don’t worry if your brows look a bit asymmetric, it’s fine, nobody has completely symmetrical eyebrows. If you’ve stepped back from the mirror and it’s looking a bit strong, dust some powder over them to take things down a notch.
A bit of brow definition goes a long way. If this guide hasn’t given you the confidence to try it at home, I urge you to go to a department store, look for a lady working at a beauty counter who has great eyebrows and ask her to show you how it’s done.
 If you have enjoyed this post, please share. See below for my Social Media buttons x