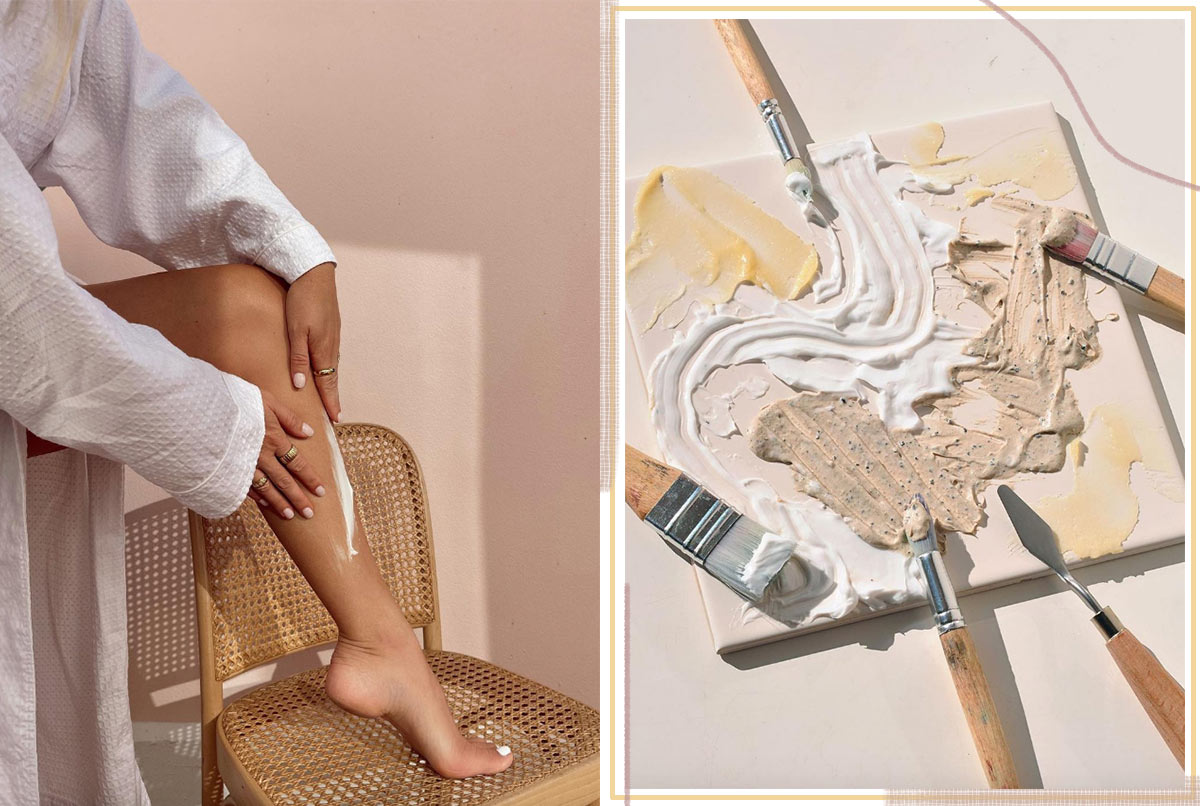
If you’re a fan of doing things by yourself or whipping up recipes, then DIY body butter is definitely worth trying! It’s one of the most accessible, easiest, and safest skincare products to make at home.
When you make body butter by yourself, you can customize the recipe for your own needs to guarantee that you’ll love the texture, scent, and ingredients! Whether you’ve already experimented with DIY cosmetics or are brand new to the experience, this article is for you.
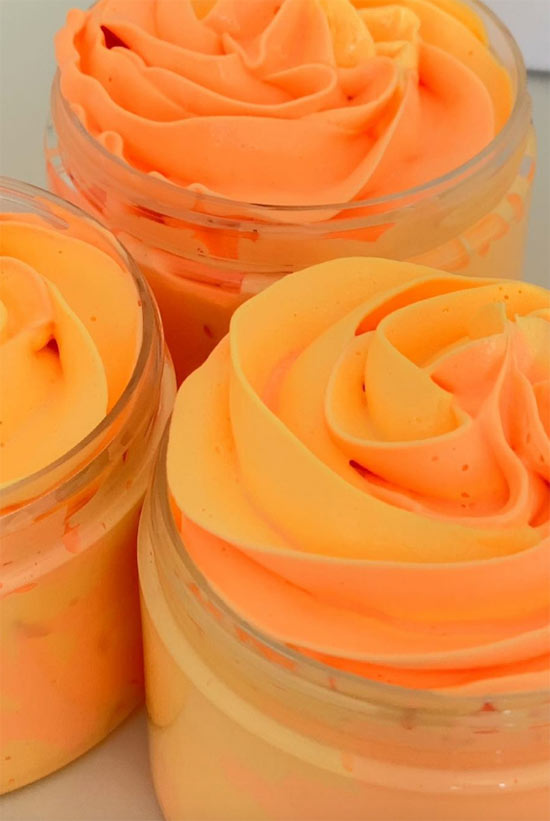
We’ve got a few important tips and some lovely body butter recipes so you can make a luxurious body moisturizer that’ll make you feel like a queen. As you gain some practice, you can deviate from the recipes and make your own special blends!
DIY Body Butter Guide: Contents
Normally, we caution our readers against making their own skincare, with the exception of single-use masks or the occasional toner that you can keep in the fridge for a few days at most. However, homemade body butter gets a quick pass from us! Body butter is a rich and creamy moisturizer that locks moisture into the skin and combats dryness.
Most moisturizers are made with a mixture of water and oil, which are combined with an emulsifier. This kind of mixture breeds bacteria very easily, which is why preservatives have to be added to it.
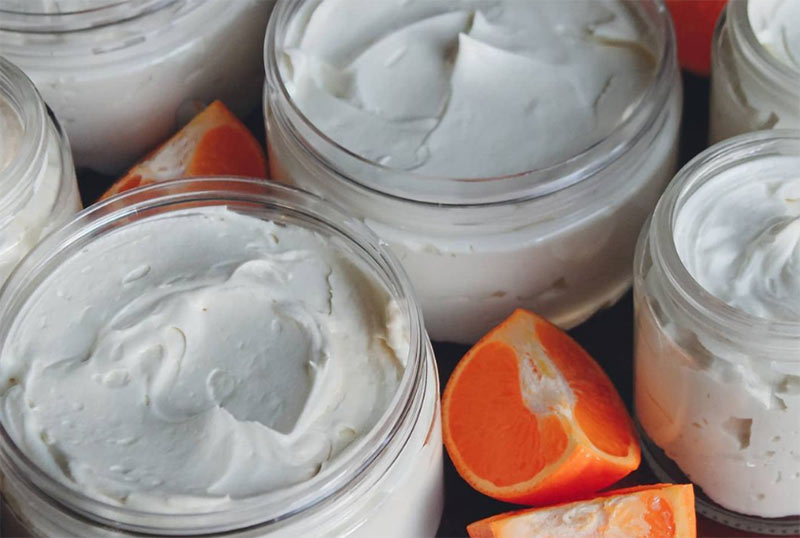
Body butters, on the other hand, can be made with nothing but oils and plant butters. You don’t need any water to achieve a gorgeous formula! Sure, it won’t directly hydrate your skin, but after a shower, it’s the perfect sealant.
Since oils on their own don’t breed bacteria, preservatives aren’t mandatory either. This beautiful simplicity means that body butters are very easy and safe to make. If you babysit or have kids, you can even turn this into a project with them!
Read Next: Body Cream vs. Body Lotion vs. Body Butter & Oil
The shelf life for your body butter depends on the ingredients you use. Oils don’t exactly spoil, but they do go rancid, which means that they start smelling bad and lose all of their antioxidant properties. Once your body butter is rancid, using it will be pretty unpleasant.
Your body butter will last as long as the shelf life of the least stable ingredient, so have a look at the best before date or period after opening symbol on all of your oils.
If you can’t find it, here is a quick lowdown on the shelf life of the major oils and butters:
For beginners, we recommend starting out with simple body butter recipes that only include oils and butters with a longer shelf life.
As you gain experience, you can look into adding vitamin E (make sure to buy a pure version from a cosmetic supplier rather than a vitamin E oil or supplement), which acts as an antioxidant and protects less stable oils from going rancid.
While your body butter on its own won’t harbor bacteria, it can still become compromised. If you leave it open in a humid bathroom or dig your fingers in the jar while it’s damp, that can contaminate it, which can make it spoil a lot more quickly.
That’s why you should make sure to keep your body butter in a container that has a tight seal in a dry and cool environment. If some of the oils you’ve used are particularly unstable, you can even keep it in the fridge to extend its freshness, although you may have to adjust the amount of oil you use, so it doesn’t get too hard in the fridge.
Read Next: How to Use Your Body Lotion or Cream
While each body butter recipe is a little different, there are a few things you’ll need for most of them, like a double boiler set-up and a jar for the final product.
You’ll need:
This is the easiest of all of the DIY body butter recipes, and it’s great if you’re new to making them! It includes shea butter, which is rich in skin-protecting antioxidants and nourishing fatty acids, and yet doesn’t feel greasy. Coconut oil is rich and moisturizing, and thanks to a high amount of lauric acid, it’s fantastic for sensitive skin.
The body butter above might be simple, but it can feel a little greasy for some. If you’d like something that’s almost as simple but with a lighter, more matte skin feel, follow this recipe.
The mango butter and grapeseed or apricot oils are all lighter than shea butter and coconut oil, while the added starch helps give a slightly matte feel.
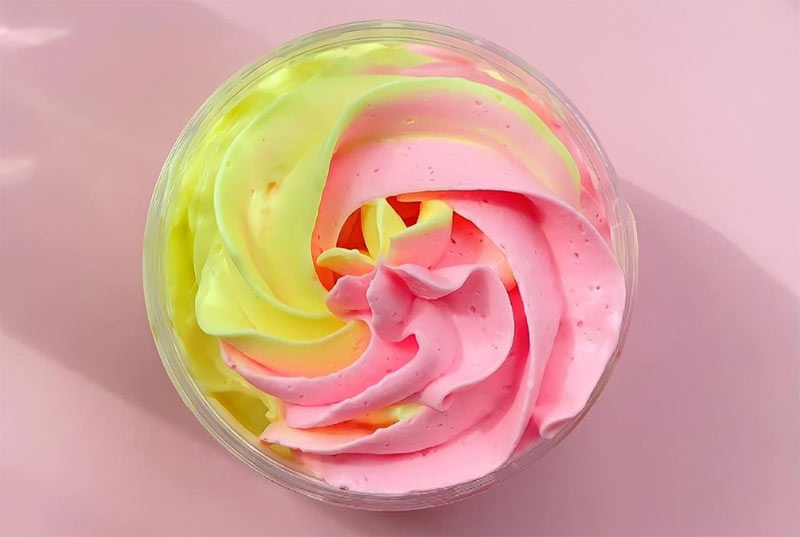
If your skin tolerates fragrances, you can create scented body butter by adding your favorite essential oils to your blend. From calming lavender to refreshing lemongrass, there are a lot of fantastic essential oils to choose from. You can even customize your own personal fragrance blend!
Before choosing your essential oils, make sure that they are safe for the skin and at which percentage. Essential oils like lavender can make up to 3% of a formula, while bergamot or clove bud shouldn’t exceed 0.4% and 0.5%, respectively.
Usually, it’s better to use less essential oil than more, so we recommend only using about 20 drops of your essential oil of choice, which is about 0.5% concentration for the amounts of oil and butter we suggest using. If you intend to use the butter on your face, it’s better to decrease that number down even further, to only 5 to 8 drops.
Those who are prone to body acne can make a special, acne-fighting body butter. The key is to use non-comedogenic ingredients and to add a few drops of tea tree oil, which has antibacterial properties. Just be aware that this blend can smell a little medicinal.
To make this body butter, you can follow the same process as for the other recipes we’ve listed so far.
If you’d like to give your body the same treatment as your face, consider this recipe that’s designed to protect the skin from the visible signs of aging. It includes shea butter, which is loaded with vitamin E, and rosehip seed oil, which contains skin-rejuvenating vitamin A precursors.
Just be aware that because of the rosehip seed oil, this body butter has a shorter shelf-life than others on this list. Make sure to use it up within three months.
To make this recipe, you can follow the same process as for our easy DIY body butter, with some small changes. Add the essential oils right before placing the incorporated butter and oil mixture in the fridge, and leave it in the fridge for up to an hour to ensure it becomes solid enough for whipping.
Photos via Instagram