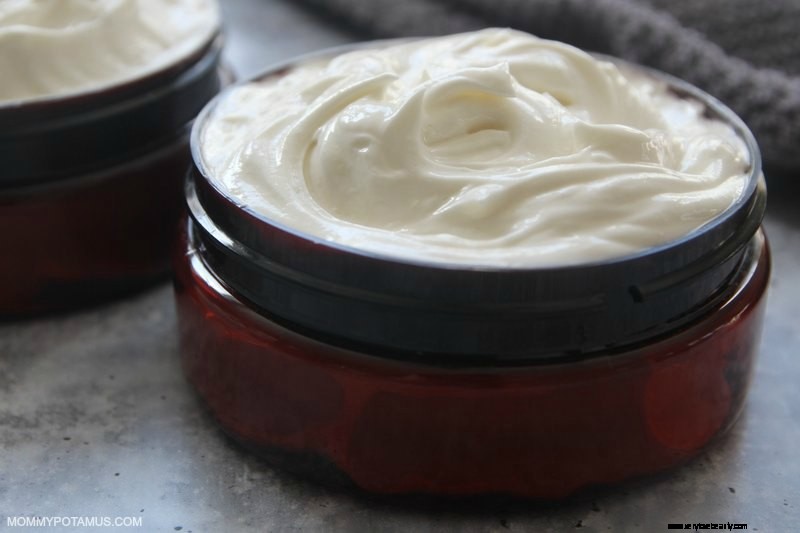
After testing countless variations and hearing “Mama, can I eat that?” on more than one occasion, I’m so excited to share my absolute favorite whipped body butter recipe with you. Although it does look good enough to eat, I promise you’ll enjoy it a lot more if you use it to nourish your skin.
It’s not greasy, leaves skin feeling SO SOFT, and is super simple to make. Here’s the basic process:
It really is that easy. Plus, unlike homemade lotion which contains water and therefore needs to be used up quickly if you’re not adding a preservative, homemade body butter is relatively shelf stable and can last for several months.
This recipe is pretty flexible in terms of ingredients, so you can probably use at least a few things you already have on hand. Just make sure to use high quality butters and cold-pressed oils to ensure that your body butter stays fresh for as long as possible.
You can also help prevent early oxidation (rancidity) by adding an antioxidant such as vitamin E if you’d like. I’ve included instructions for doing that in recipe, but almost never do it personally. Because I’m using high-quality ingredients, I know my body butter will stay fresh for at least several months and that’s more than enough time for me to use up a batch.
With that in mind, let’s take a look at the ingredients in this recipe:
Antioxidant rich butters derived from cocoa beans and shea tree nuts form the foundation of this recipe. They nourish skin while also helping to seal in moisture. Although sometimes used interchangeably, they do have their own “personalities” and yield different body butter qualities:
Cocoa butter is a hard butter derived from cocoa beans. It smells a little like chocolate and is on the firm side, which adds a luxurious thickness to the body butter. It tends to yield a very dense butter if used solo in a recipe, so I prefer to blend it with another butter for a lighter whipped texture and easier absorption. When mixed with peppermint essential oil it smells faintly of peppermint white chocolate.
Shea butter is a softer, more pliable butter that is derived from the nuts of the African shea tree (karité tree). It’s naturally rich in vitamin E and is considered a good choice for all skin types. It absorbs quickly without leaving a behind a greasy feeling, making it one of my favorite butters to use in DIY products.
In addition to our butters we’ll be using two types of oil – one that’s solid at room temperature (coconut oil) and one that’s liquid at room temperature.
Coconut oil is rich in fatty acids such as linoleic acid (which helps skin retain moisture) and lauric acid (which has a beneficial effect on collagen production).
Any liquid oil – In addition to coconut oil, you’ll also be using a liquid oil of your choice. Some of my favorites are olive oil, sweet almond oil, jojoba oil, and apricot oil.
If you’d like, you can infuse your liquid oil with a skin-nourishing herb to amplify its beneficial properties. I’ve put together tutorials for a few of my favorites, including:
The arrowroot powder in this recipe diminishes the oily finish associated with other homemade body butters. If you don’t have it on hand, tapioca starch or non-GMO cornstarch are good alternatives.
Although totally optional, essential oils are a great addition to this recipe. My personal favorites to use are:
The best time to apply body butter is right after a bath or shower when your skin is moist and your pores are open.
Start with a little to see how much your skin is ready to absorb, then increase the amount used if needed.
Ingredients:
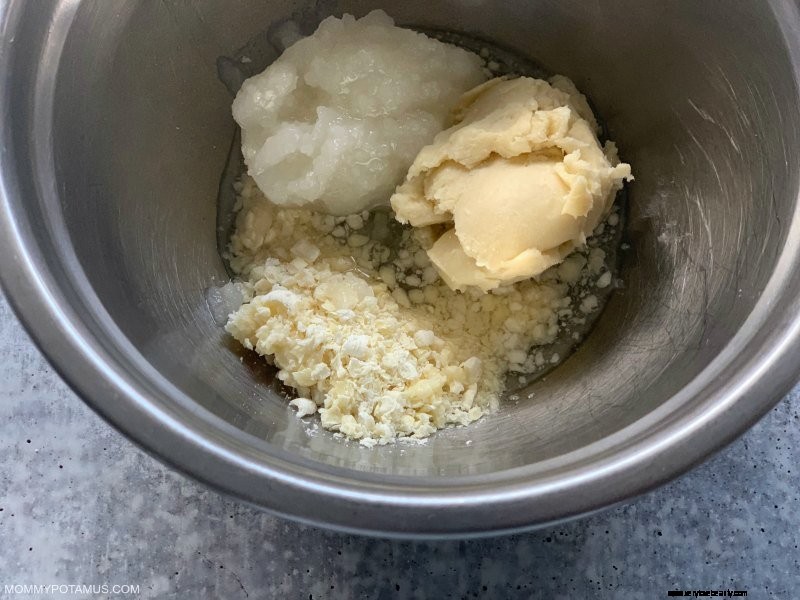
Measure the cocoa butter, shea butter, coconut oil and liquid oil and add them to a stainless steel pot or bowl.

Using a double boiler or a pot of boiling water with a smaller pot or stainless steel bowl fitted inside, melt cocoa butter, shea butter, coconut oil and liquid oil together over medium heat.

When the oils are completely liquid, remove them from heat and place the bowl/pot in the freezer to firm up. Make sure to use a stainless steel vessel that can handle the transition from hot to cold.
When the mixture is hardened enough that you can press your finger in it and make an imprint, remove it from freezer.
Add the essential oils (if using), and vitamin E (if using) to the bowl.
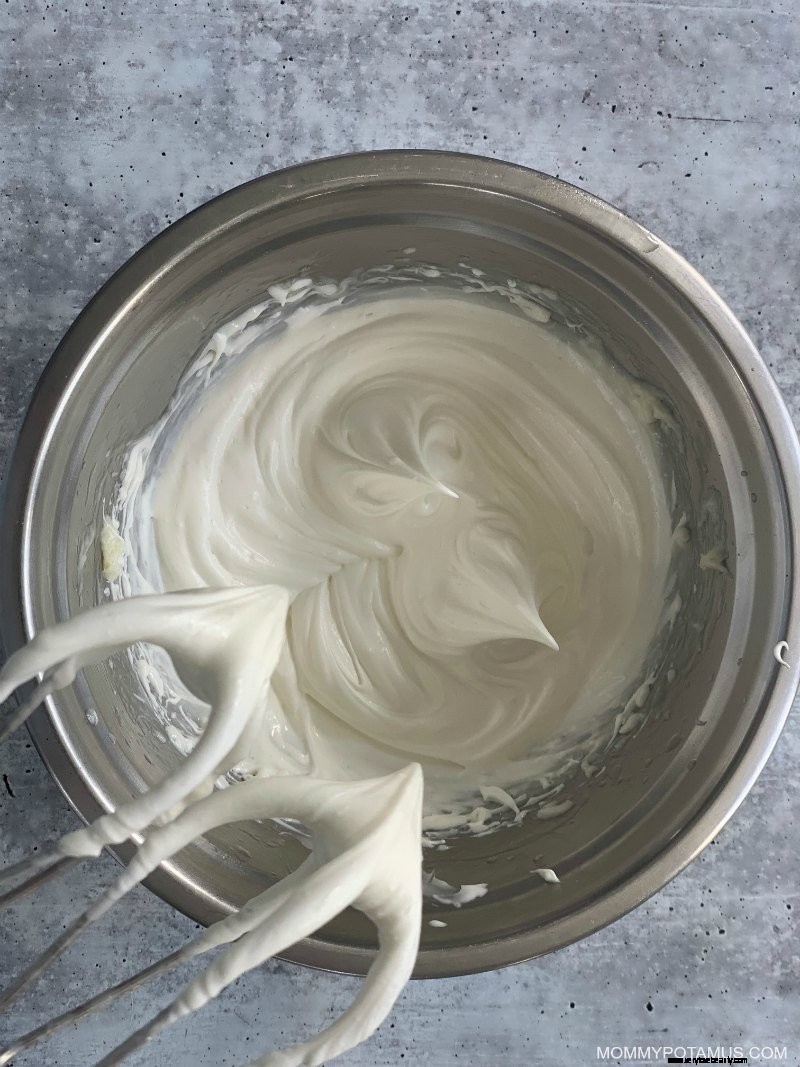
Using a stand mixer or hand mixer, start whipping the mixture on the slowest setting and gradually increase the speed as the mixture softens. Whip until it transitions from yellow to white, then lower the mixer speed back down and whip a little more to make it extra fluffy.
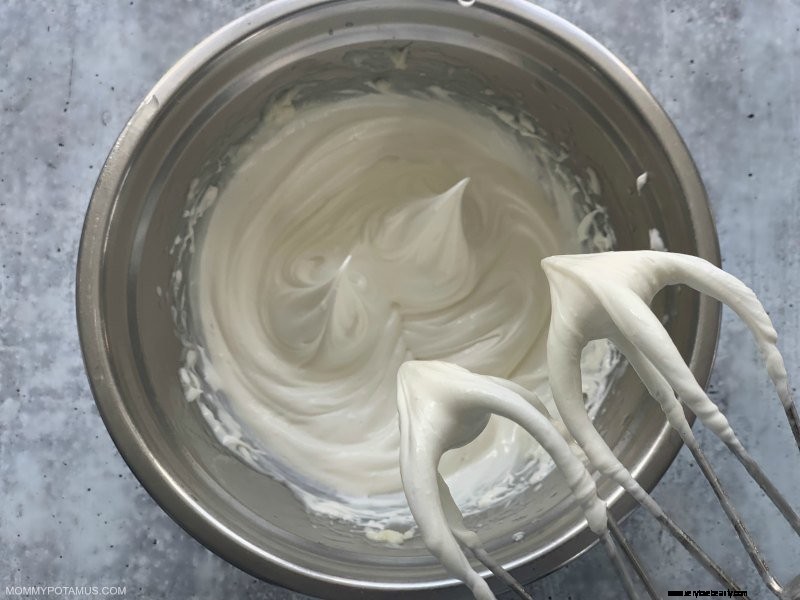
Once the body butter is light and fluffy, add the arrowroot powder and whip again to mix it in.
Store in an airtight glass jar and keep out of direct sunlight, which promotes oxidation and may cause the homemade body butter to melt if it heats up too much.
What is the shelf life?
Homemade body butter is relatively shelf stable and can last for several months, sometimes even longer. The main thing that can reduce shelf life is to use oils and butters that are old or haven’t been stored properly. Ideally, they should be kept in a cool area that is away from direct sunlight.
Can I use a different butter instead?
Yes, although it may change the lightness and texture some. Mango butter works pretty well as a substitute for shea butter although it doesn’t become quite as light and fluffy when whipped.