Do you bake? I’m not taking about cakes either. I’m talking about when makeup artists heap powder under peoples eyes to make them look all perfect, like celebrities!
I’ve had a couple of cracks at this in the house, just for a laugh really. After I had finished, my bloke wasn’t impressed. I looked powdery and weird. I had, after all, dumped a bunch of powder onto my face. Essentially baking (also known as cooking or sandbagging) is putting base makeup onto your face and letting sit there for about 20 minutes before blending it. That way it melts into the skin and becomes the pigment becomes more dense.
If you’ve seen Ru Paul’s Drag Race then you’ll have seen the drag queens having bitch fights with thick layers of different coloured makeup sat baking on their faces. It really is the best programme ever.
Before I explain how baking works, I just want to say that I think lots of powder under the eye is a bad idea. A bad idea for anyone with aging skin, dry skin or oily skin, for anyone who isn’t young and flawless therefore. And those with flawless skin have no need to resort to these lengths.
So don’t misconstrue this post as my recommendation to do any of the things I’m telling you to do. I’m about to tell you to put way too much makeup on, but you don’t have to.
Baking With Powder (aka Sandbagging)
Baking just means letting your makeup sit on your face for a while before blending, you can do it with powder or liquid makeup. Baking with powder gives a soft, completely matte, flawless appearance to skin, it’s ideal if you’re going to appear in public or be photographed a lot, like on a red carpet. There have been several incidents when, shock horror, the finishing powder wasn’t blended properly leaving the poor famous looking strange and silly.
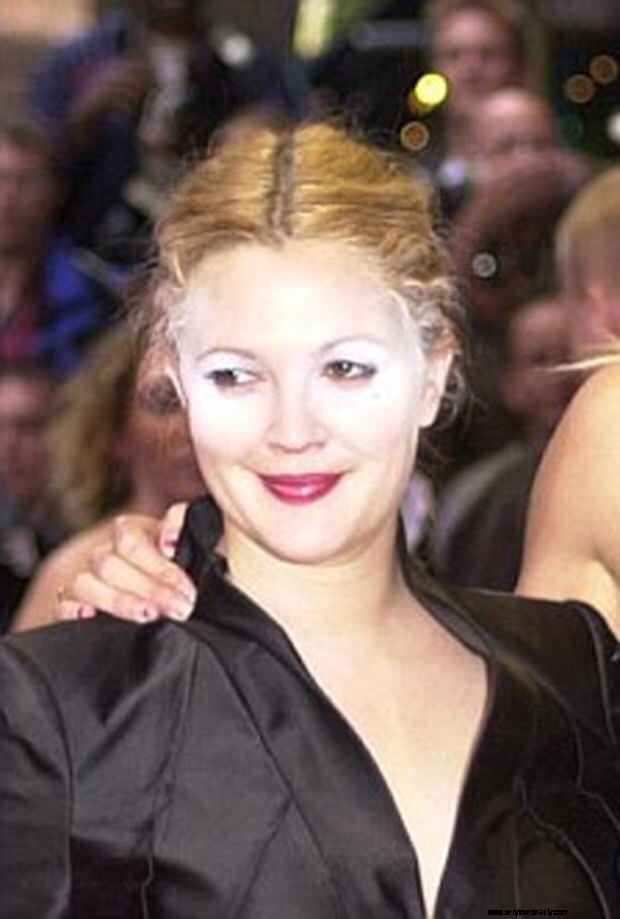 Poor Drew.
If you are curious enough to try baking at home, this is how it’s done-
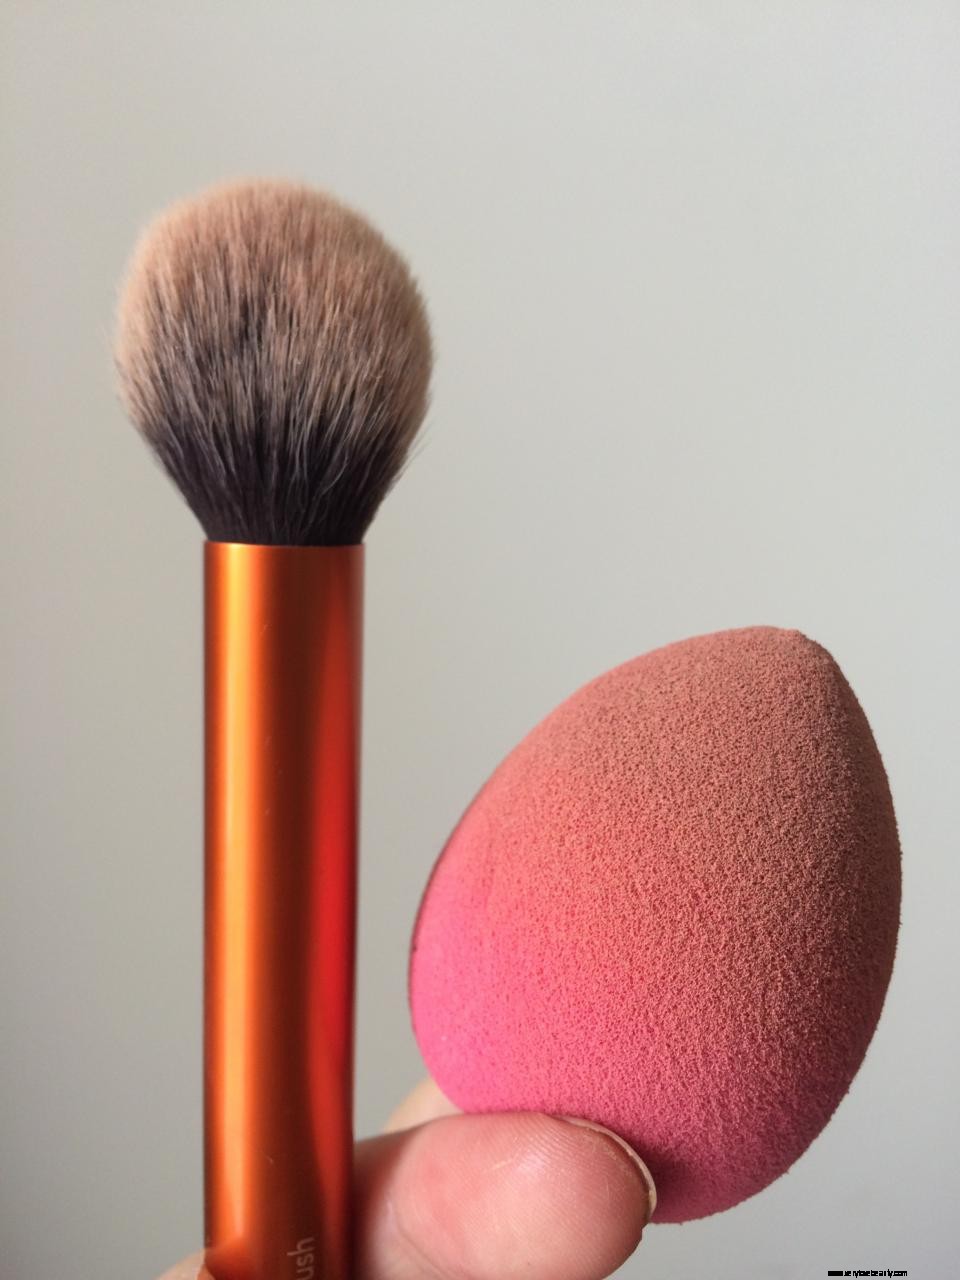
You’ll need a makeup sponge, a powder brush, a concealer and some loose powder. Check my Powder post for product recommendations.
Baking with powder certainly left me looking matte and flawless, but also flat and cakey. After an hour the product was creasing, it was unpleasant to be honest.
Baking with Liquid Makeup
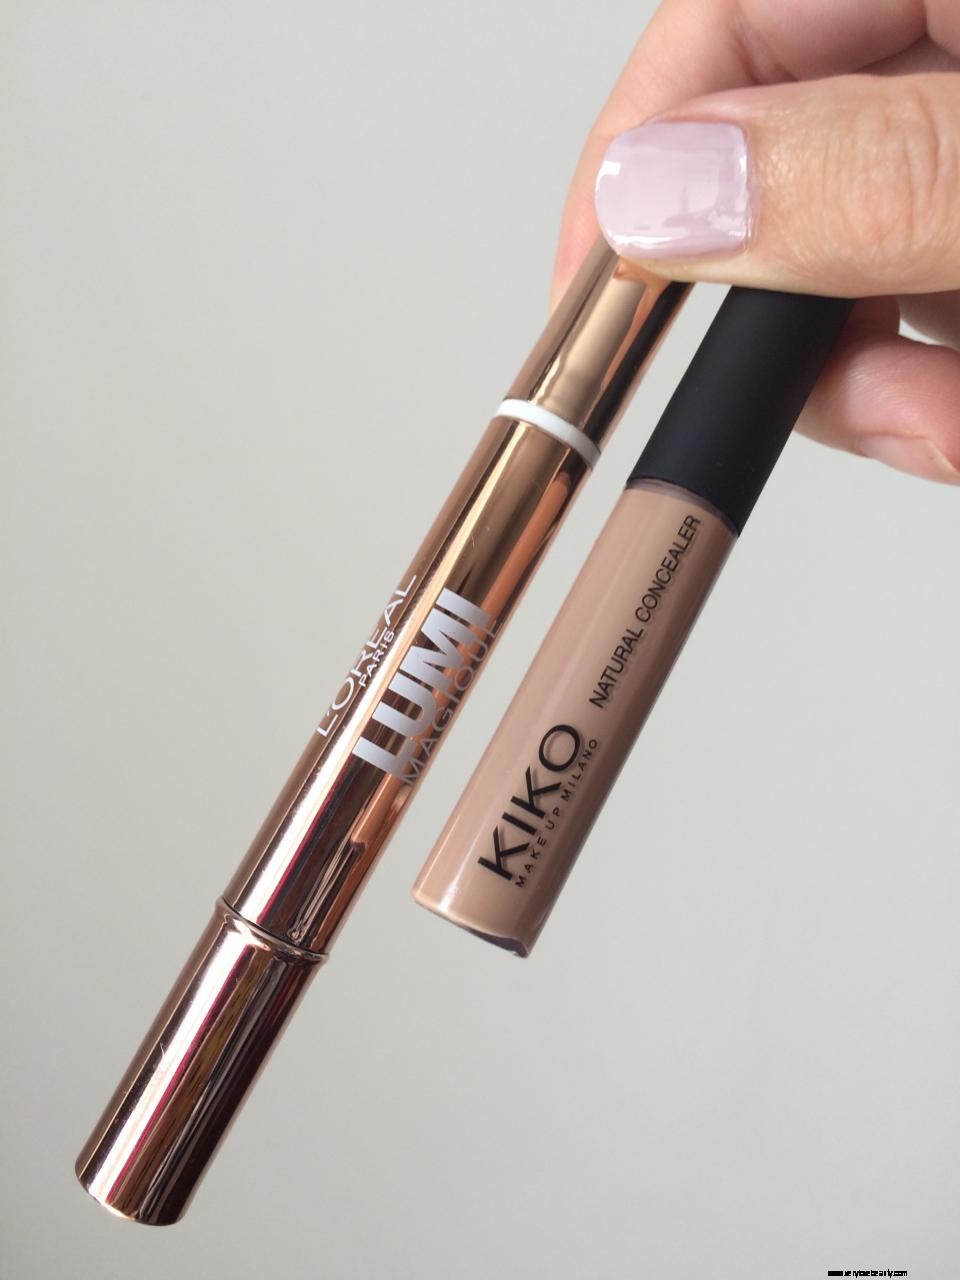
You can do the same with liquid makeup- leave concealer on for several minutes to allow it to melt into the skin, this way you get a denser layer of pigment and more coverage. If you have an area of discolouration that you have trouble hiding, this is a good trick. You apply a layer of concealer and let it sit for about 10 minutes before blending (any longer and it’s difficult to blend it at all)
Here I used a darker concealer to cover my under eye circles and a lighter one over my cheekbones and up to my temples to highlight.
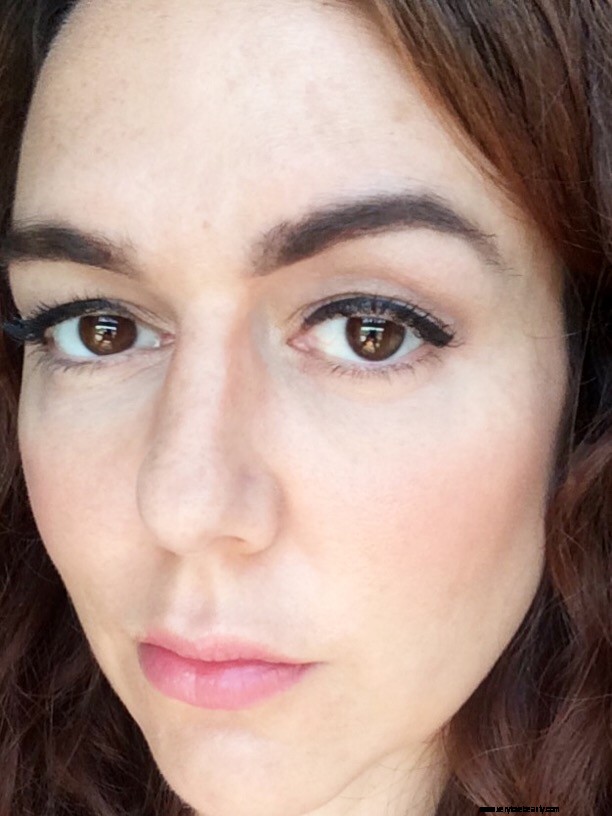
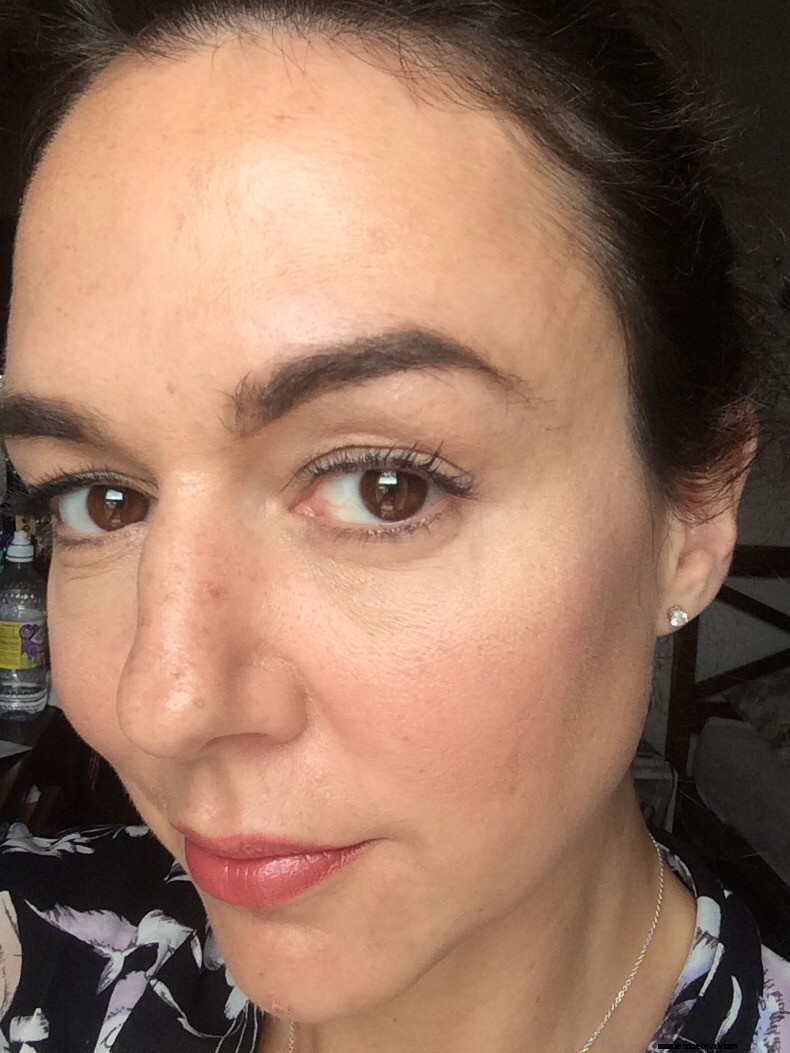 I was left with a perfectly concealed and highlighted under eye, close up it looked heavy though.
Baking is like a lot of these other makeup techniques doing the rounds- it looks better in photos than it does in real life. After taking these photos I took the makeup off, it looked way too heavy. I much prefer the technique I described in my Post on under eye creasing where the aim of the game was to get as thin a layer as possible, so it looked a lot more natural and less alarming.
Baking makes for such a heavy face of makeup, I’m really not sold on it. I’ve shown you how to do it, by all means try it for fun, but then leave baking to drag queens and bakers.